




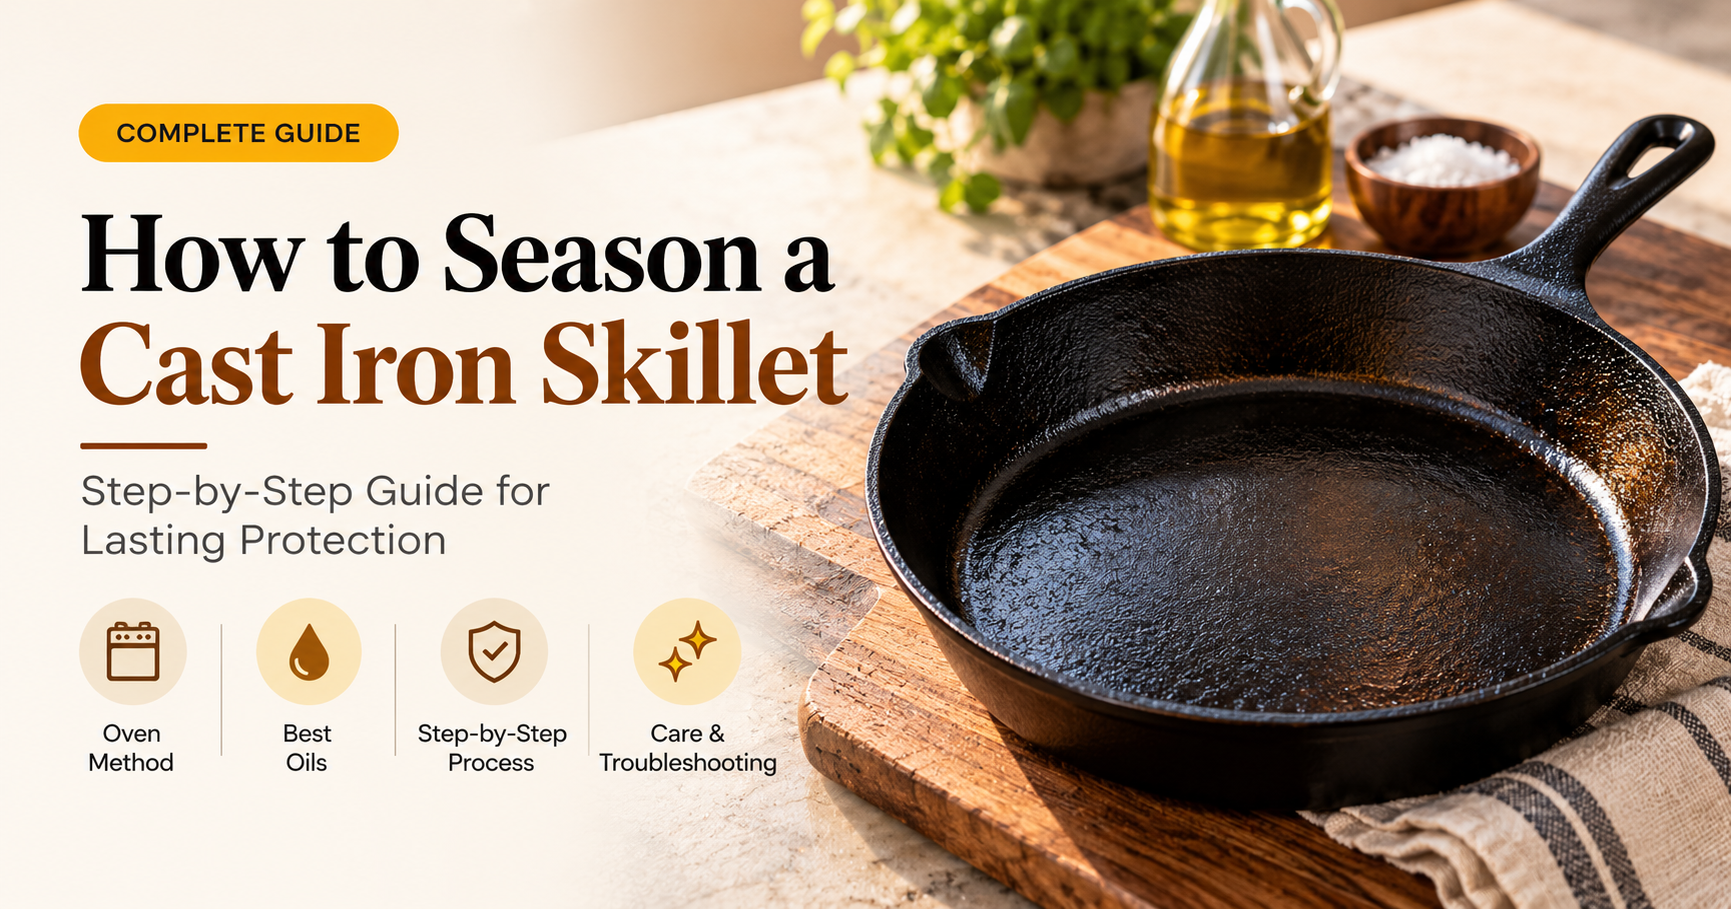
Seasoning is what turns a raw or worn cast iron skillet into a naturally non-stick, rust-resistant workhorse. The good news is that learning how to season a cast iron skillet is easy: apply a very thin coat of oil, bake the pan upside down at high heat for about an hour, and repeat.
This guide explains what seasoning is, the best oils, a step-by-step oven method, an alternative stovetop method, troubleshooting and how to keep the finish in great shape.
What Is Seasoning on Cast Iron?
Seasoning is not a flavor. It is a thin layer of oil that has been heated until it chemically bonds to the metal and hardens into a smooth, slick coating (a process called polymerization). This coating fills the tiny pores in the iron, helps food release, and protects the pan from moisture and rust.
Do You Need to Season a New Cast Iron Skillet?
Most new skillets are sold pre-seasoned, so you can cook in them straight away. Even so, adding a few extra coats at home gives a smoother, more durable finish. A pan that is unseasoned, stripped, rusty or flaking needs a full seasoning before use.
When Should You Re-Season Your Skillet?
- The surface looks dull, gray or patchy and food starts to stick.
- You see rust spots or orange patches.
- The finish is flaking or peeling.
- You have scrubbed the pan hard or stripped it back to bare iron.
- The pan feels dry or rough rather than smooth.
What You Need
- A cast iron skillet
- Mild dish soap and a stiff brush or non-scratch sponge
- Lint-free cloth or paper towels
- A thin, high smoke point cooking oil
- Aluminum foil or a baking sheet (to catch drips)
- Oven mitts
Best Oils for Seasoning Cast Iron
You want an oil that is thin, easy to wipe on and does not go rancid easily. Popular choices include flaxseed, grapeseed, canola, vegetable oil and solid vegetable shortening. There is no single perfect oil: flaxseed makes a very hard coating but can flake if applied thickly, while grapeseed, canola and vegetable oil are affordable and forgiving. Avoid butter and olive oil for oven seasoning, since they can smoke excessively and leave a weak or sticky coating.
How to Season a Cast Iron Skillet in the Oven (Step by Step)
- Wash and dry the pan. Scrub with warm water and a little mild soap to remove dirt, old residue or factory wax coatings. Rinse and dry with a towel, then warm the pan on low heat for a few minutes so no moisture remains.
- Preheat the oven. Set it to about 230–260 °C (450–500 °F). Put a sheet of foil on the lower rack to catch drips.
- Apply a very thin layer of oil. Add a small amount of oil and rub it over the entire pan: inside, outside, handle and bottom.
- Wipe it off. Using a clean cloth, buff the pan until it looks almost dry. This is the most important step. A thick layer of oil bakes into a sticky, uneven finish.
- Bake upside down. Place the skillet face down on the middle rack so extra oil can drip off and not pool. Bake for one hour.
- Cool inside the oven. Turn off the heat and let the pan cool slowly. Handle it with oven mitts, as it will stay hot for a long time.
- Repeat. Do the process two or three times for a strong foundation. Heavily stripped pans may benefit from more rounds.
Tip: Expect some smoke. Turn on your exhaust fan and open a window.
How to Season a Cast Iron Skillet on the Stovetop
The oven method gives the most even results, but you can do a light touch-up on the stovetop:
- Wash and dry the pan fully.
- Rub in a thin layer of oil and wipe off the excess.
- Heat over medium-high until the oil just begins to smoke.
- Turn off the heat and let the pan cool.
This method suits quick maintenance rather than a complete first-time seasoning, because heat is concentrated on the base.
How to Season a Rusty or Stripped Skillet
First remove the rust with a soak of equal parts white vinegar and water (for 30 to 60 minutes at most), then scrub with a brush or steel wool. Wash, dry immediately and follow the oven seasoning steps above. For a very rough pan, plan on several coats.
Seasoning Troubleshooting
How to Maintain Your Seasoning
- Cook with some fat. Frying, searing and roasting build seasoning naturally.
- Clean gently. Hot water, a brush and a quick wash are enough.
- Dry right away. Towel dry and warm briefly on the stove.
- Oil after each wash. Rub in a few drops and wipe off the extra.
- Go easy on acidic foods at first. Long-simmered tomato sauce or wine can dull a young finish.
- Never use the dishwasher or soak the pan.
Can You Season Enameled Cast Iron?
No. Enameled cast iron has a glass-like coating and does not need seasoning. Some makers recommend a light oil rub on any exposed bare rim, so follow the manufacturer’s guidance.
Common Seasoning Mistakes
- Using too much oil. This is the number one cause of sticky pans.
- Baking right-side up. Oil pools in the bottom and bakes unevenly.
- Skipping the drying step. Moisture causes rust under the seasoning.
- Using the wrong oil. Low smoke point fats burn and leave a weak finish.
- Expecting perfection after one coat. Seasoning improves with repeated use.
Buying Guide: Helpful Items for Seasoning
- Cast iron seasoning oil or conditioner: pre-mixed products are easy to apply thinly.
- Lint-free cloths: cotton rags or lint-free towels avoid leaving fibers in the finish.
- Silicone oven mitts: important when handling a hot skillet.
- Chainmail scrubber: cleans without removing healthy seasoning.
- Oven-safe baking sheet: catches drips without lining the oven floor.
Frequently Asked Questions
How long does it take to season a cast iron skillet?
About one hour of baking per round plus cooling time. Most people do two or three rounds, so plan on a few hours in total.
What temperature should I season cast iron at?
Generally 230–260 °C (450–500 °F), close to or just above the oil’s smoke point. Check your oil’s guidance.
Why is my seasoned pan sticky?
Too much oil was left on the pan. Bake it again at high heat for an hour to harden the surface.
How often should I season my skillet?
A light oiling after every wash, and a full oven seasoning only when the finish looks dull, rusty or damaged.
Is it safe to cook on a freshly seasoned pan?
Yes, once it has cooled. Seasoning is simply polymerized cooking oil.
Can I season cast iron on a grill or campfire?
Yes. A closed grill can mimic an oven, which suits outdoor setups.
Final Thoughts
Knowing how to season a cast iron skillet is the key to years of smooth, non-stick cooking. Keep the coats thin, bake upside down at high heat, let the pan cool slowly and repeat. With regular cooking and light oiling, your skillet will get better with every meal.
Disclosure: This article may contain affiliate content. We may earn a small commission from qualifying purchases at no extra cost to you.